


Why do a semi-circumnavigation of the planet just to get married? Well, we eloped, so a lot of the travel was borne from the need for a certain level of secrecy. The whole notion of a huge party, letter pressed invitations, registries, and a foufy white dress didn't appeal to the boy and I, so we hauled off into the sunset to create something that worked better for us.
Of course, the wedding had nerdy features aplenty and one of these is going to be the first instance of a new series on the blog: geeky crafting. This new series will encapsulate a myriad of all do-it-yourself projects that have a distinctively nerdy bent to them (cosplay is a bit special and will retain its own heading). If any of you happen to be with me in the Northeastern part of the United States, the next couple of days will be providing us with ideal conditions to get crafty as we tuck in to as much as 3 feet (apx. 1 meter) of snow.
Project #1: Paper Flowers
Cut fresh flowers can do wonders for one's mood, particularly during this otherwise dark and gray time up here in the Northern Hemisphere. Even a small bouquet can add a much-needed pop of color or a pique of vernal scent that provides a much-appreciated reminder that warmer days are ahead. All this is nice, of course, but such blooms too-quickly wilt and often come with both a very high literal and carbon-emissions price tag. This, along with the overall fragility of most cut flowers, originally prompted me to forgo a traditional bridal bouquet.
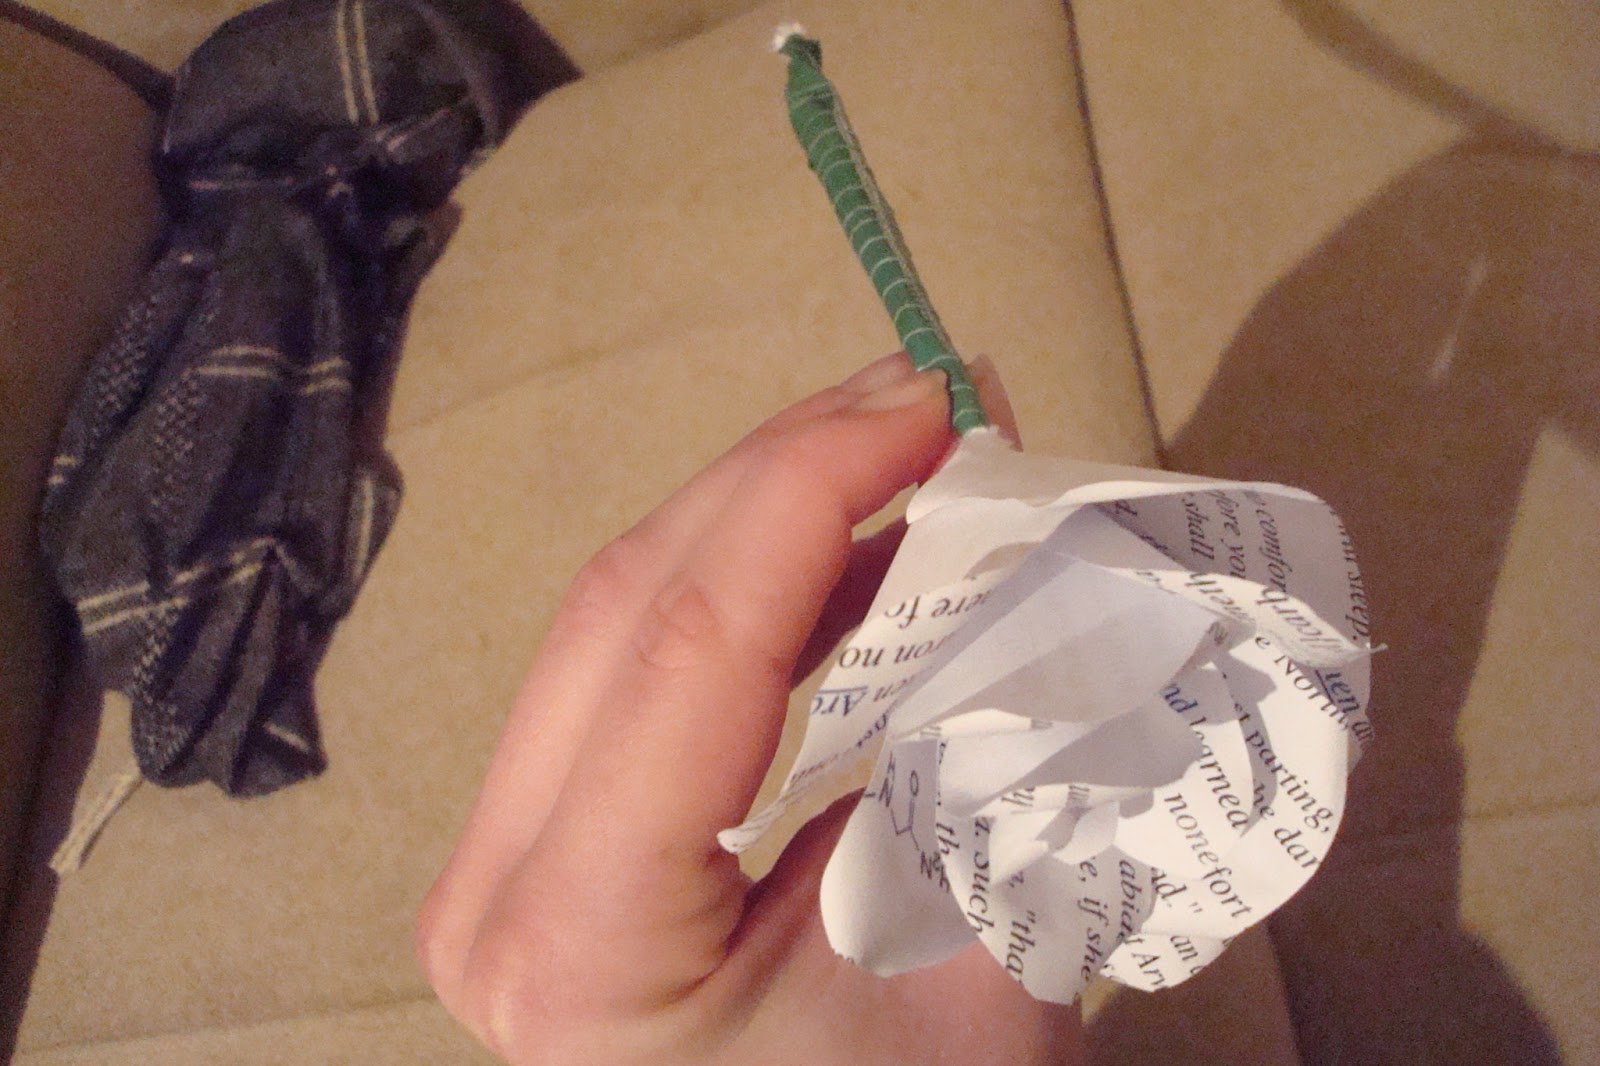
The notion of a bouquet probably wouldn't have crossed my mind again until I happened across a stunning photo of a set of roses made from the pages from a well-weathered second-hand book as I sat procrastinating organizing the blog's Pinterest page. It was so perfect: something that could speak to our shared bibliophilia and could probably withstand a 10.5 hour flight. The photo was linked to a series of pictographic "instructions" that provided a good high-level procedure, but left plenty of questions as to the particulars. A trip to the craft store and some trial and error later, I was able to put this guy together:
 |
| The text inside are quotes from our favorite books/movies/tv, chinese proverbs, and scientific formulae |
It's fairly easy to do and the materials used are probably things you could find in your home or office. The biggest resource this project will consume is time. The whole thing took me about two weeks start-to-finish, but that was divided into brief construction sessions whenever I could fit them in. If you're able to work straight through, it'll probably take you 4-12 hours depending on the desired size of your finished arrangement and on the adhesive you use. Speaking of things you'll use, here's a list of what you'll need for this project.
Craftin' Supplies
5-6 sheets of standard 8'' x 11'' paper (A4 works just as well), or 10-15 paperback-sized pages
6-12 pipe cleaners or medium gauge floral wire
A hot glue gun and glue sticks or other fast-acting adhesive
Scissors
1-3 cotton swabs
Green duct tape (optional)
Colored ribbon (optional)
Sequins, beads, or other small accoutrements (optional)
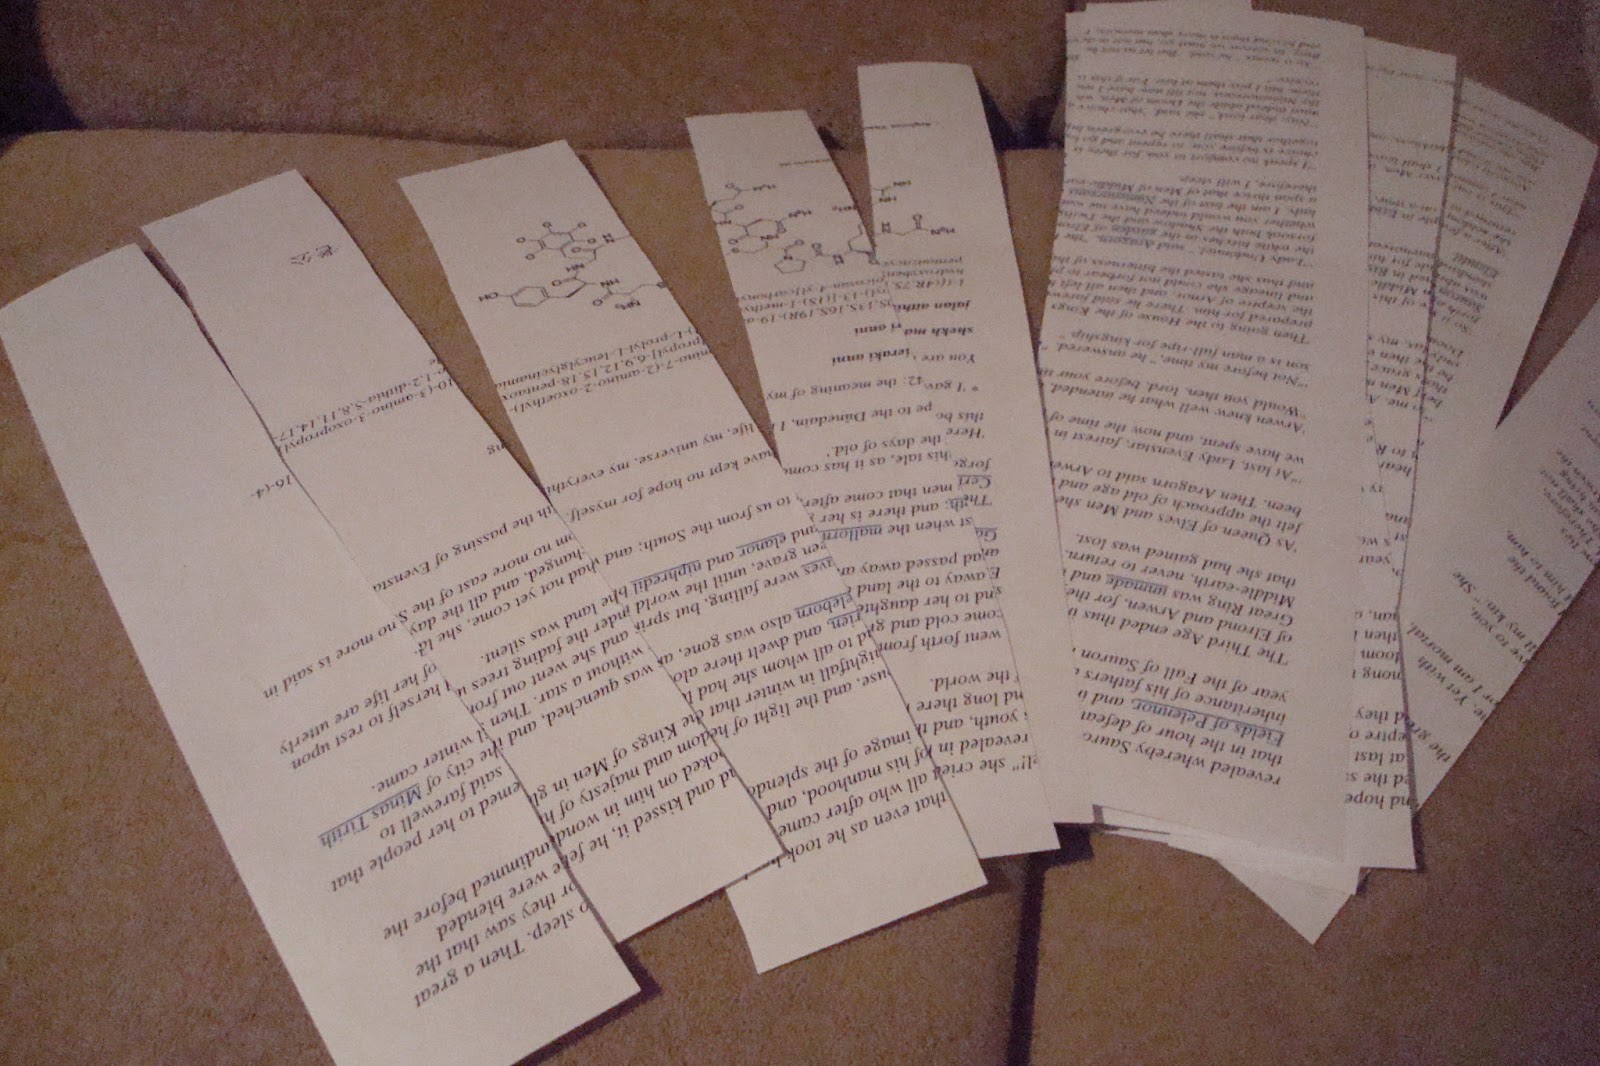
Step 1: Cut all of your paper lengthwise into strips. You'll want to vary the intervals of your cuts so you end up with strips of about 5 or 6 different widths. Once this is finished, cut the strips into rectangles and squares of varying sizes. I found it helpful to organize these into little piles of pieces that were approximately the same size.
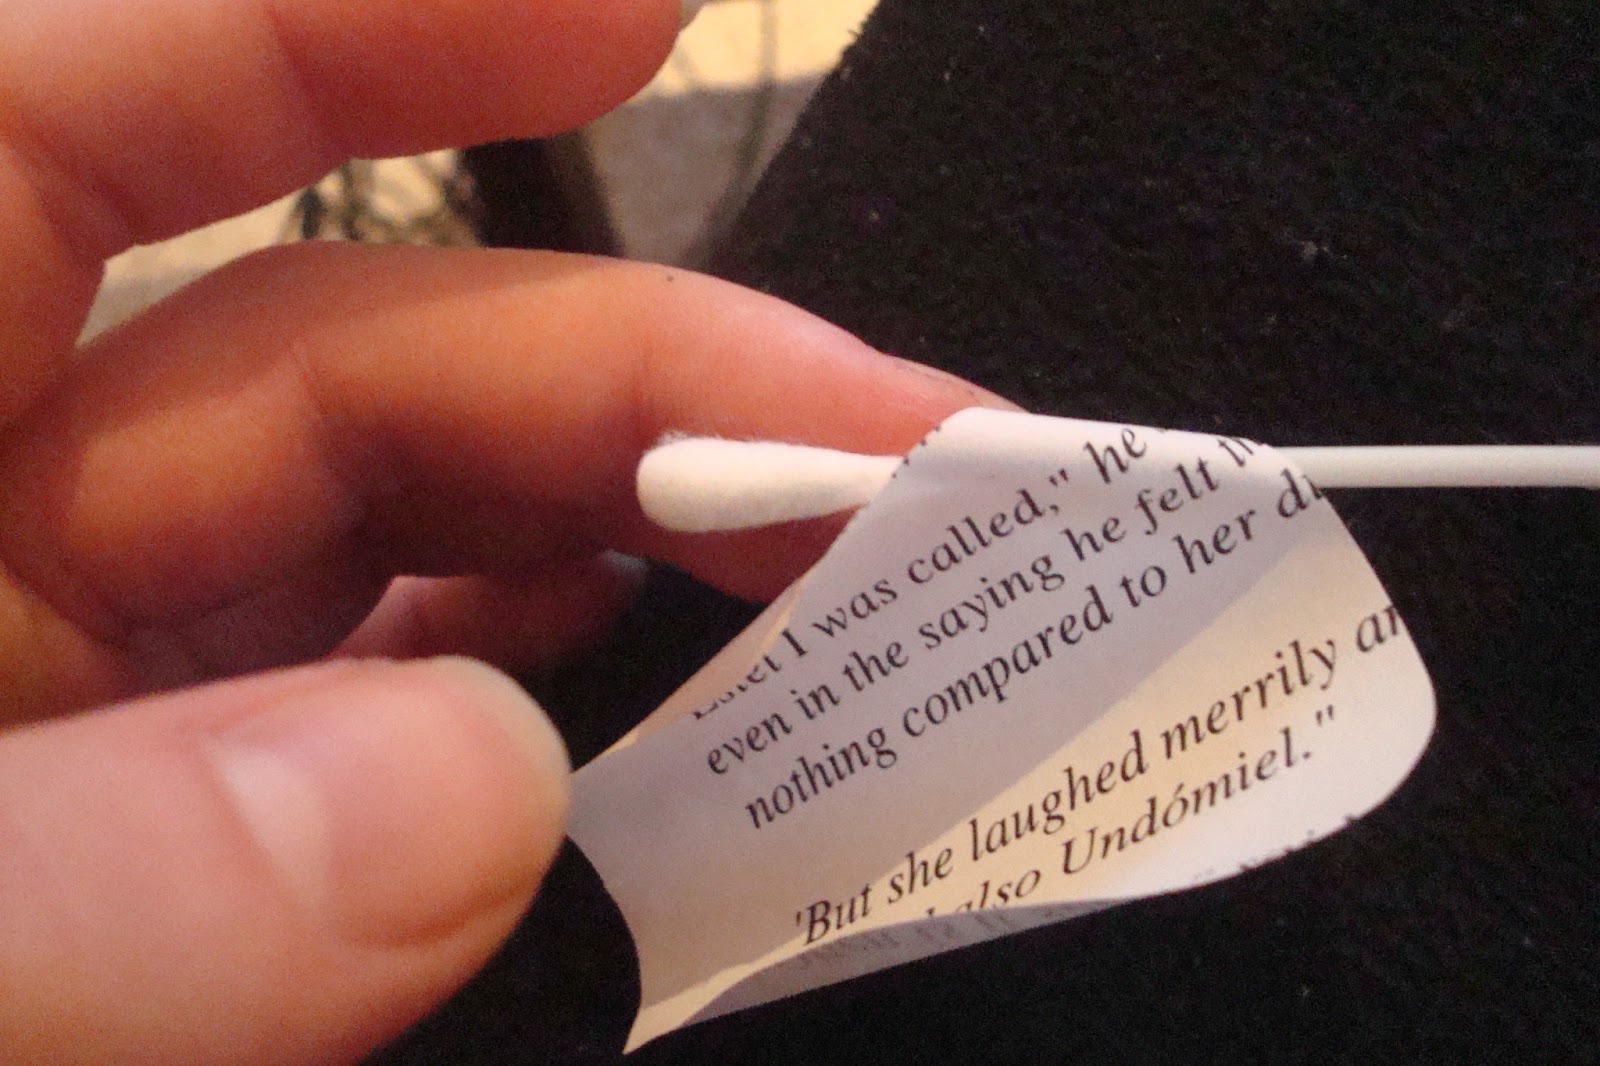
Step 2: Here's where a lot of your time is going to go. Take each of those little pieces from Step 1 and trim them to sort of resemble a petal. For roses, this typically means laying your rectangle so the long sides are vertical, rounding the "top corners" (those farthest from you), then tapering the "bottom corners" (those closest to you). The tapering should result in a narrower section at the bottom of the petal that still features a squared/straight edge rather than, say, a point. The squared, stem-like bottom part will be the primary surface area for your glue, so you want to create a shape, but not shortchange yourself on space later on. Don't be afraid to experiment to find what techniques work best for you. Also, don't worry about your petals looking perfect, as they're going to undergo more shaping before you assemble the bouquet.

Step 3: This step is also a pretty time consuming, but doesn't require quite so much direct focus as the cutting. Your best bet is to put in an excellent movie or three and settle in. Using the cylindrical center of your cotton swab (it might be helpful to remove the poufy tips), roll the rounded corners (those that were furthest from you during shaping) of each petal back. You can do this by aligning swab along the edge of one corner of the petal so the swab is at a 45ish degree angle relative to the rest of the petal. Once the swab is in place, twist both swab and paper away from you for one or two turns. When you release the swab, the paper will hold a gentle, organic-looking curl. Repeat this on the other corner, then on all of your petals. Seriously, this step is a perfect opportunity to re-watch your favorite TV series or host a personal Lord of the Rings/Star Wars marathon.
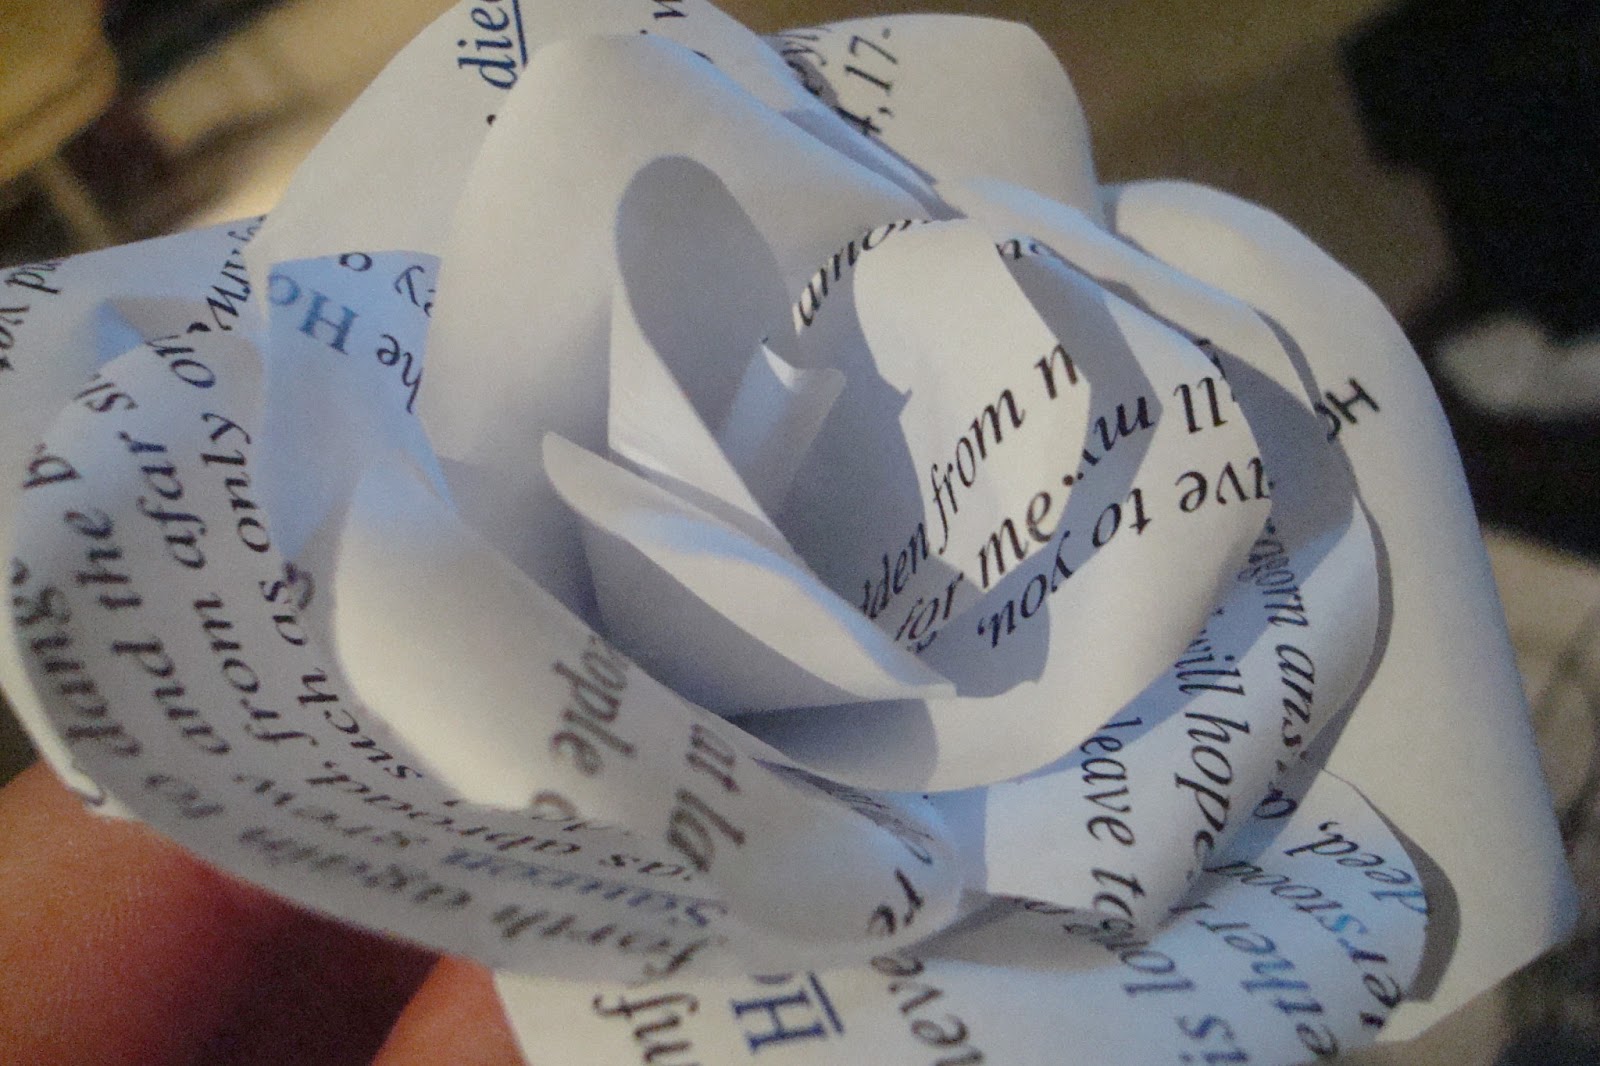
Step 4: Once you've shaped your petals it's time to start assembling. Take your adhesive of choice and, after adding a dab to the narrow end of one of your smaller petals, attach the petal to the end of one of your pipe cleaners/floral wire bits. Now adhere another petal so it faces the first (the concave 'hollows' should face one another). Repeat this process, adding layers of petals, until the bloom is your desired size. I recommend starting with small petals, then graduating to larger ones to make the flower resemble its real life counterpart. You'll also want to adhere the petals to the wire (or each other as you progress outward) as tightly as possible to ensure the flower is structurally sound. As for building out the bloom, you'll see that gaps will form naturally as you add to the flower. These gaps provide you with hints as to where to place the next petal.

 |
| See how the bloom looks lopsided? Let's add a petal to that far side! |

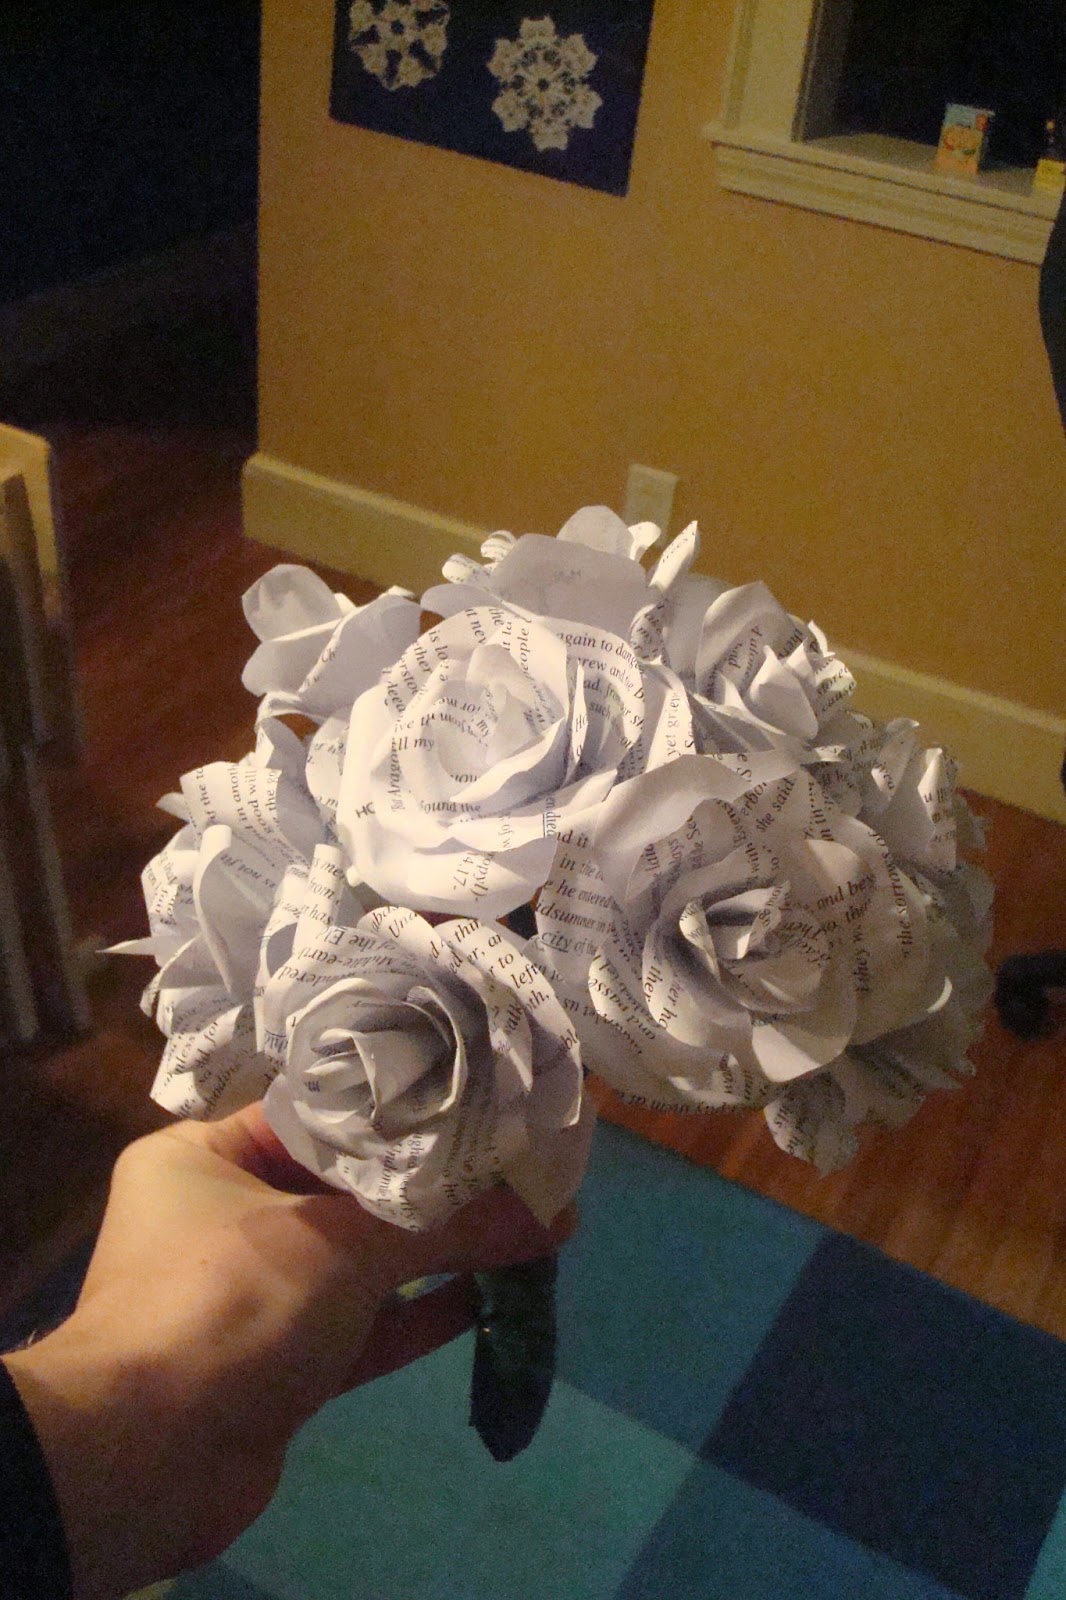
Step 5: Gather your flowers and gently twist the wire "stems" together until the bouquet is a single unit. From here, you can finish this handhold on the bouquet by wrapping it with ribbon and/or colored tape. After that, feel free to add any embellishments you'd like to either the handhold or the flowers themselves. That's it! You've got yourself one un-wilt-able bouquet/arrangement!
FAQs
Is there a special type of paper I should use?
Almost all types of paper should work with this project with the exception of very flimsy or tissue-like stock. The blooms should be able to support themselves, so any paper that can hold a shape on its own can be used. Don't feel as though you have to limit yourself to just paper either. You can get creative and add in a smattering of petals made from stiff fabric or layer finer fabrics (like tulle) on top of the paper to add volume and texture.
Really? Any old paper?
So long as its self-supporting it should work. The examples you see above are made from nothing more than your run-of-the-mill office printer paper. You can use acid-free paper, the pages of a vintage book, sheet music, lab reports, cardstock...literally any paper product of decent structural integrity. I used office printer paper because it tends to come in a stark white hue and because I wanted to customize the quotes seen in the flowers (which required the aid of a printer). You could just as easily use handwritten pages if you were so inclined.
Does any particular adhesive work best for this project?
Hot glue is probably your best bet for making these flowers. You want something that can be applied precisely, holds tight, dries quickly, and that doesn't add a great deal of weight to the bouquet. I tried a few different adhesives, including glue dots, glue sticks, standard glue, and rubber cement, and found that hot glue was the winner hands-down.
Pipe cleaners work for this?
Sure thing. I used 6mm pipe cleaners for everything featured here. They're cheap, they can hold a bit of weight, and they provide the kind of flexibility you want for this project. I actually took 18'' (45.72cm) pipe cleaners and finished a bloom on each end, then bent the wire in half. If you do use pipe cleaners in lieu of floral wire, I'd recommend wrapping the cleaners in tape or ribbon to provide a clean contrast between the flowers and the wire.

A little patience, a little experimentation, and some great movies in the background go a long way with this project. It's a great opportunity to meditate, relax, and reflect on your source material while creating something that'll last as long as you'll want it to. For more process pictures, check out our G+ and Facebook pages. Best of luck!
No comments :
Post a Comment